


In this article, I will explain how to quickly and easily add video conferencing functionality to your application.
This kind of technology usually involves a significant amount of work behind it. Not only do you need to understand how to implement and manage costly audio and video servers along with their respective video streaming technologies, but you also need to know how to properly integrate it into your frontend app, all while keeping latency to a minimum.
For this reason, ZEGOCLOUD, a company I've been working with for some time, provides state-of-the-art solutions in this field, offering you these capabilities without the need to worry about infrastructure costs or dedicating effort to integrate them into your app. With their UIKit, you can add another widget to your Flutter application that will automatically connect to your system and enable you to incorporate video conferencing functionality into your app in just a few minutes.
To do this, I'm going to show you the steps one by one that you need to follow to accomplish it. The first step is to visit the official ZEGOCLOUD website and sign up. Everything I'm going to explain here can be tried with a free account, without the need to add any payment method. This way, you can evaluate the service and see it in action without any cost.
Create the project in the ZEGOCLOUD Dashboard
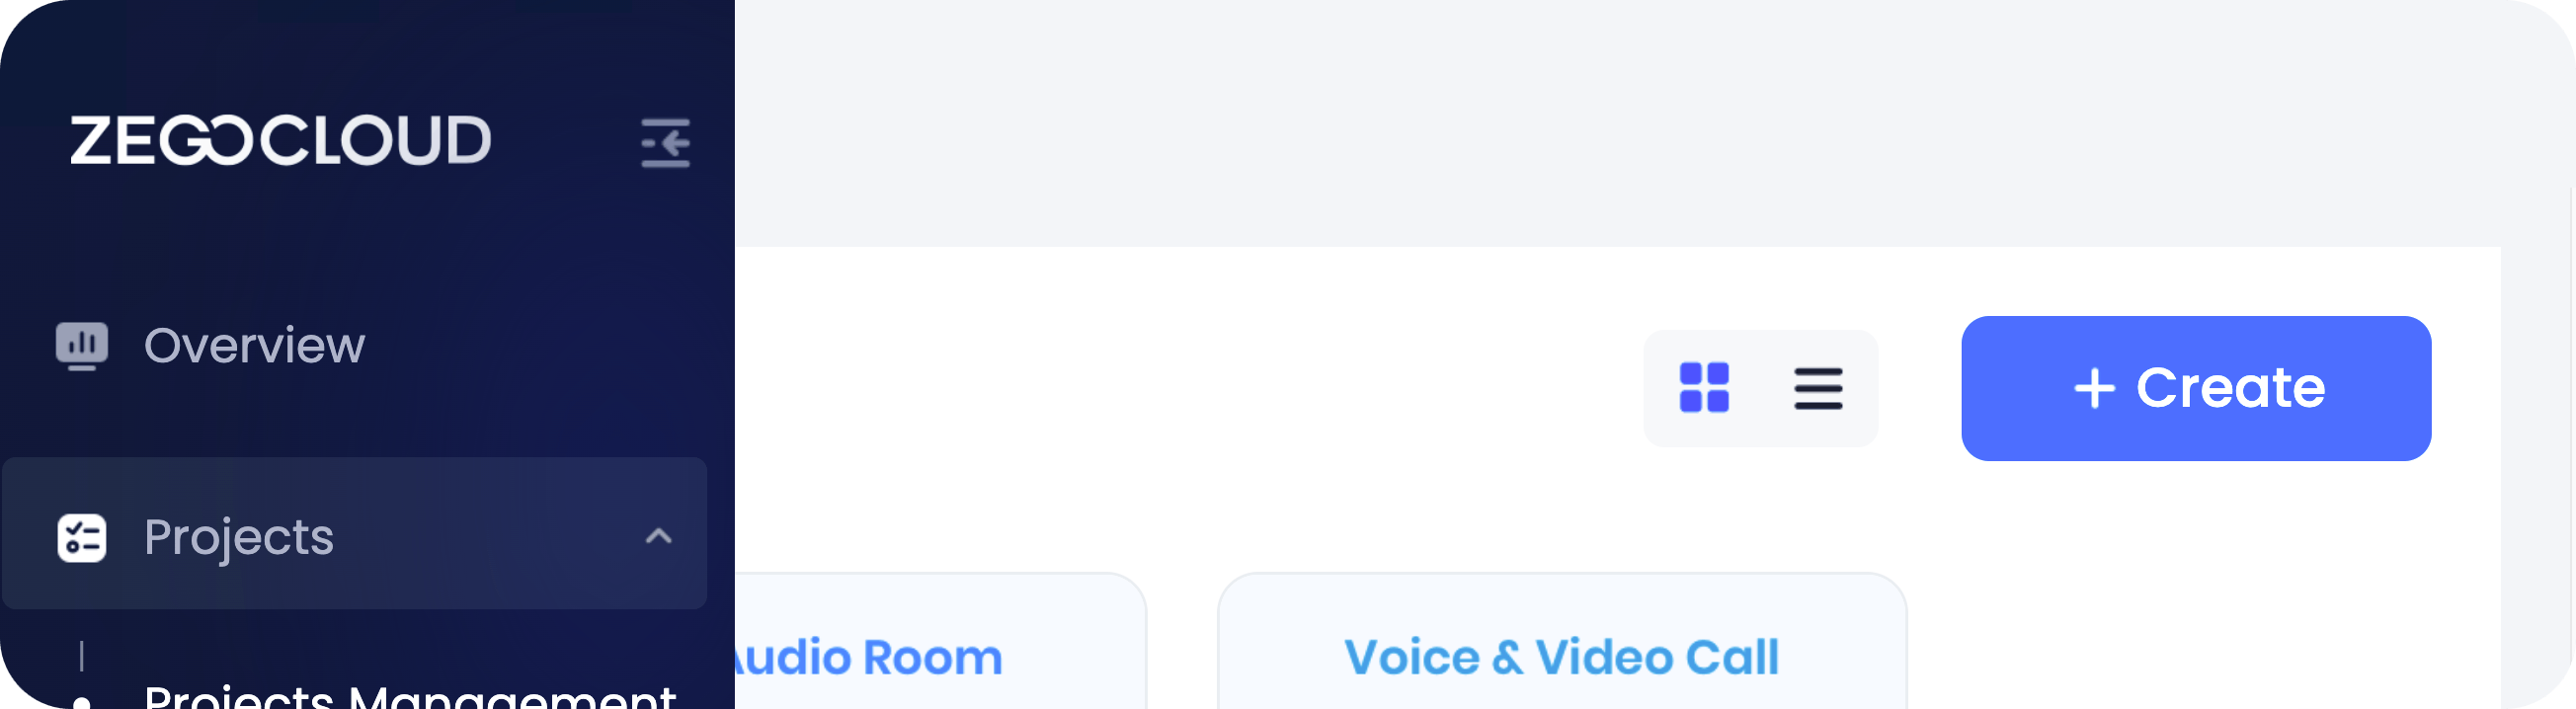
The first thing you should do is create a project. You can do it by clicking on the "Create" button in the upper right corner, in the "Projects" section:
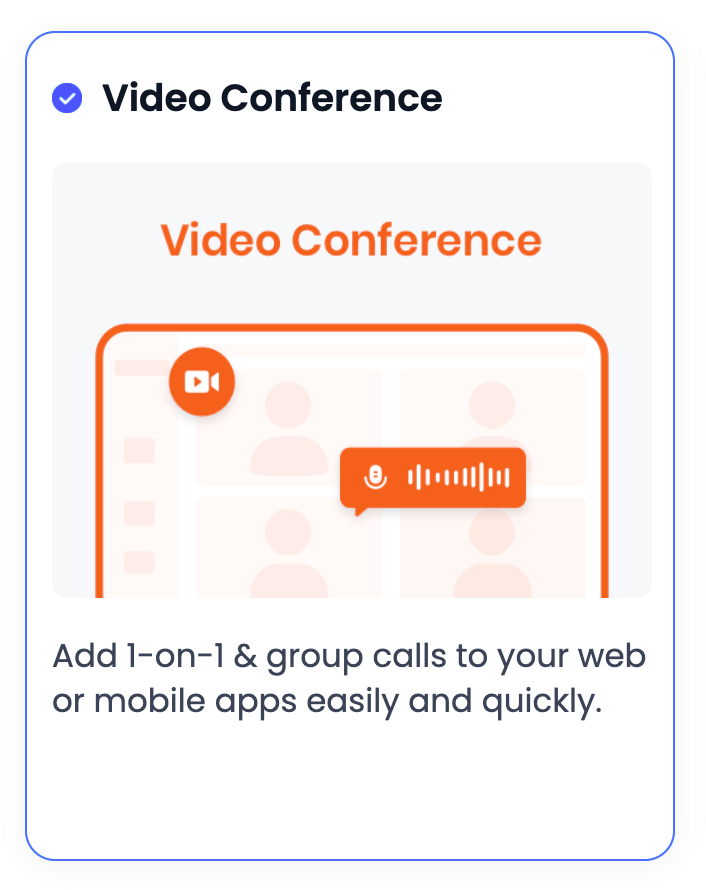
Next, you will be prompted to select the use case for your project. As you can see, there are numerous options to choose from; in this instance, we will select "Video Conference":
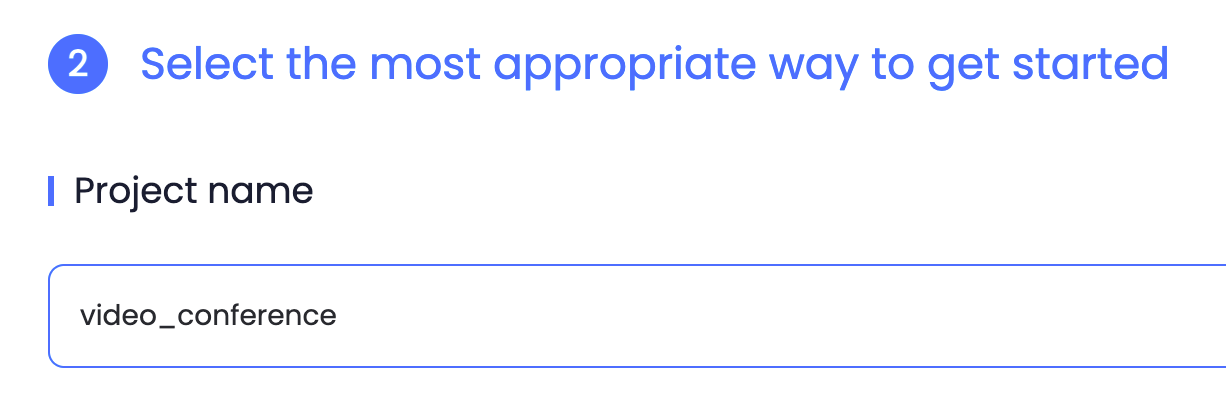
Let's give the project a name:
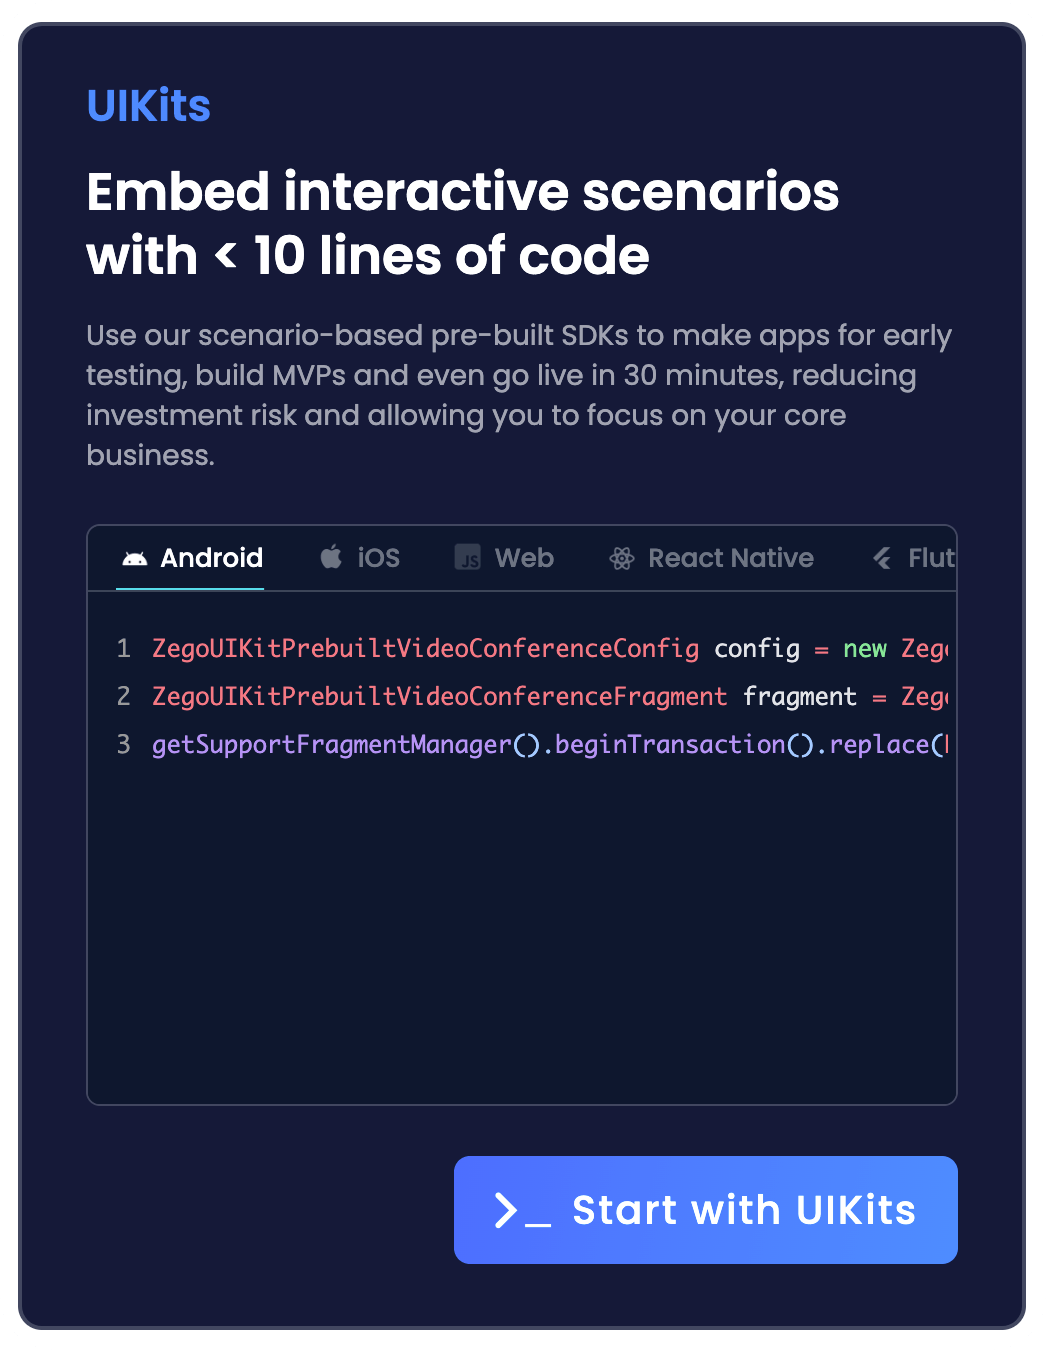
You have two options: one is to use their SDK for a fully custom implementation, where you can decide exactly how to interact with their services. The other option is to use a UIKit, which allows you to add a widget and have all the functionality implemented, including the visual interface.
Since we want to add this functionality as quickly as possible, we'll choose the "Start with UIKits" option:
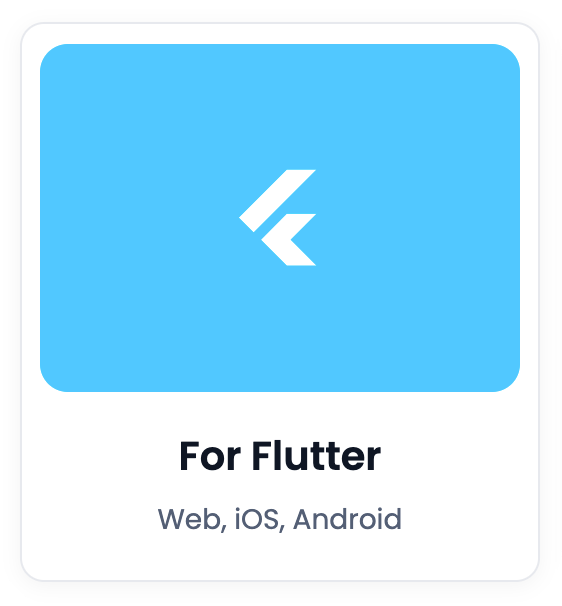
Then we can choose the platform on which we want to work, for this tutorial we will do it on a Flutter application:
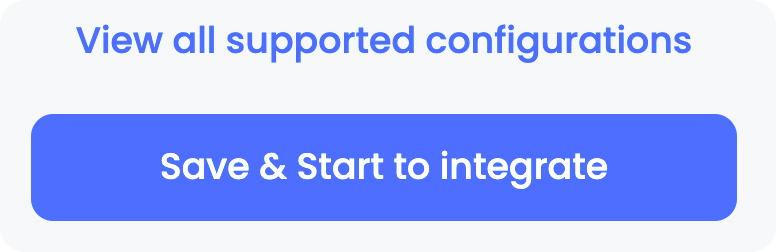
Everything is ready, press the "Save & Start to integrate" button and your project will be ready to be implemented.
Now you can view your project's configuration. You'll see your AppID and AppSign. Save these values, as you'll need them later to connect your app to the project you just created.
Add a Video Conference feature to your Flutter app
Now the fun part! Create a new Flutter application and add the following dependencies:
flutter create --platform android,ios flutter_video_conference
cd flutter_video_conference
flutter pub add zego_uikit_prebuilt_video_conference
flutter pub add uuid
The zego_uikit_prebuilt_video_conference plugin incorporates the UIKit for adding the Video Conference feature. We'll also add uuid to generate random identifiers for this example.
Before start developing, we must do some setup. Start by changing the following variables in android/app/build.gradle:
compileSdkVersion 33
minSdkVersion 22
targetSdkVersion 33
To add this feature, we must add the following permissions to android/app/src/main/AndroidManifest.xml:
<uses-permission android:name="android.permission.ACCESS_WIFI_STATE" />
<uses-permission android:name="android.permission.RECORD_AUDIO" />
<uses-permission android:name="android.permission.INTERNET" />
<uses-permission android:name="android.permission.ACCESS_NETWORK_STATE" />
<uses-permission android:name="android.permission.CAMERA" />
<uses-permission android:name="android.permission.BLUETOOTH" />
<uses-permission android:name="android.permission.MODIFY_AUDIO_SETTINGS" />
<uses-permission android:name="android.permission.WRITE_EXTERNAL_STORAGE" />
<uses-permission android:name="android.permission.READ_PHONE_STATE" />
<uses-permission android:name="android.permission.WAKE_LOCK" />
We should do the same for iOS. Open ios/Podfile and modify the last part of the file with the following addition:
post_install do |installer|
  installer.pods_project.targets.each do |target|
    flutter_additional_ios_build_settings(target)

    # Add this block
    target.build_configurations.each do |config|
      config.build_settings['GCC_PREPROCESSOR_DEFINITIONS'] ||= [
        '$(inherited)',
        'PERMISSION_CAMERA=1',
        'PERMISSION_MICROPHONE=1',
      ]
    end
  end
end
Declare the permissions in ios/Info.plist:
<key>NSCameraUsageDescription</key>
<string>Camera access is required to create a Video Conference</string>
<key>NSMicrophoneUsageDescription</key>
<string>Microphone access is required to create a Video Conference</string>
Great! Now everything is ready to start developing. Copy and paste the following Dart code in your lib/main.dart file. I've added several comments to the code so you can fully understand what I'm doing and how you can extend it further if you want:
import 'package:flutter/material.dart';
import 'package:uuid/uuid.dart';
import 'package:zego_uikit_prebuilt_video_conference/zego_uikit_prebuilt_video_conference.dart';

void main() {
  runApp(const App());
}

class App extends StatelessWidget {
  const App({super.key});

  @override
  Widget build(BuildContext context) {
    return MaterialApp(
      title: 'Flutter Video Conference',
      theme: ThemeData(
        colorScheme: ColorScheme.fromSeed(seedColor: Colors.deepPurple),
        useMaterial3: true,
      ),
      home: const MainScreen(),
    );
  }
}

class MainScreen extends StatefulWidget {
  const MainScreen({Key? key}) : super(key: key);

  @override
  State<MainScreen> createState() => _MainScreenState();
}

class _MainScreenState extends State<MainScreen> {
  // This is the ID of this conference. We'll use this harcoded value
  // for now, but you should use a custom ID managed by your system
  // in order to manage all conferences.
  final String _conferenceId = 'my_conference';

  late final String _userId;
  late final String _userName;

  @override
  void initState() {
    super.initState();

    // We will create a random ID for now. But you should
    // use the ID that you already use for your users,
    // and the username that each of them have.
    _userId = const Uuid().v4();
    _userName = 'user_${_userId.substring(0, 7)}';
  }

  @override
  Widget build(BuildContext context) {
    return SafeArea(
      // You just need to add this widget in order to
      // add the functionality to your app.
      child: ZegoUIKitPrebuiltVideoConference(
        // Add the AppID and AppSign that you saw before in
        // the project configuration in the Dashboard
        appID: your_app_id,
        appSign:
            'your_app_sign',
        userID: _userId,
        userName: _userName,
        conferenceID: _conferenceId,
        config: ZegoUIKitPrebuiltVideoConferenceConfig(),
      ),
    );
  }
}
Execute this code on two devices if possible. You will observe that you can engage in a video conference with your colleagues.
If you are looking for deeper requirements with video call SDK, ZEGOCLOUD also has a fully customized video calling SDK to meet your requirements.
And just like that you can have this feature implemented without the hassle of managing servers. Thanks to ZEGOCLOUD for sponsoring this article, and don't hesitate to go to their website to see more information about their services.
Happy coding!